AppsFramework

Step-1- Run Innosetup Compiler and click on File->New->Script Wizard is open->Click on Next Button.
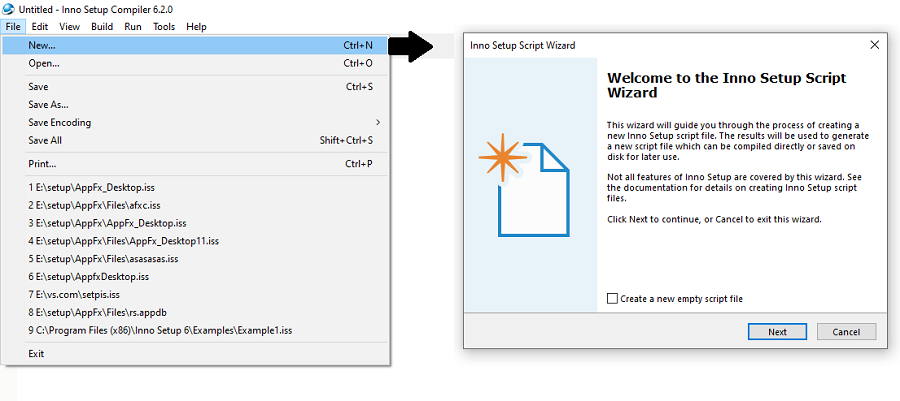
Step-2- After click on Next Button this window is appearing.
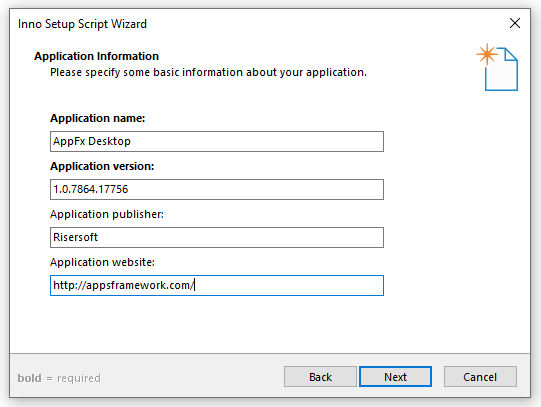
Application Name ->Set Application name as per Publishedapp table.
Application Version->Set version of application.
Application Publisher->Set publisher name.
Application Website->Set website of application.
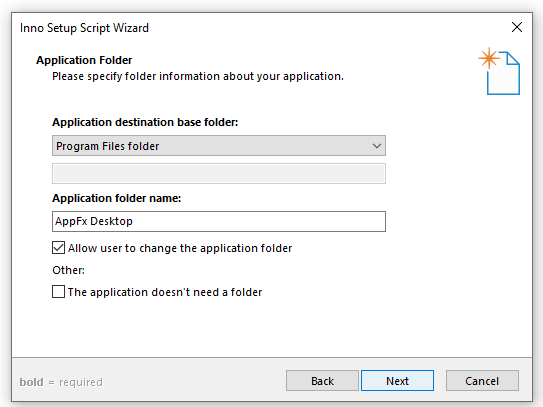
Step-3- After click on Next Button this window is appearing, here need to click Next button.
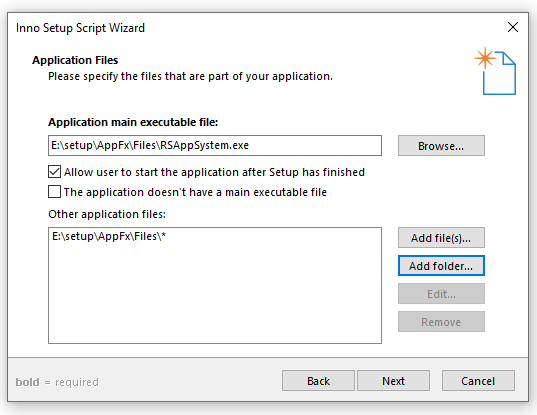
Step-4- After click on Next Button this window is appearing, now select executable (.exe) file click on browse button Add folder then click on Next button.
Step-5- After click on Next Button this window is appearing, now uncheck “Associate a file type to the main executable” and click on Next button.

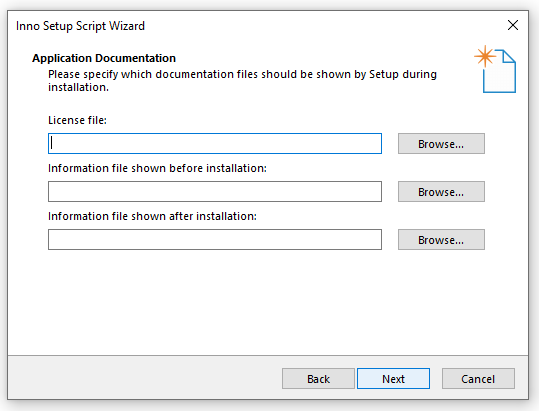
Step-6- After click on Next Button this window is appearing, here need to click Next button.

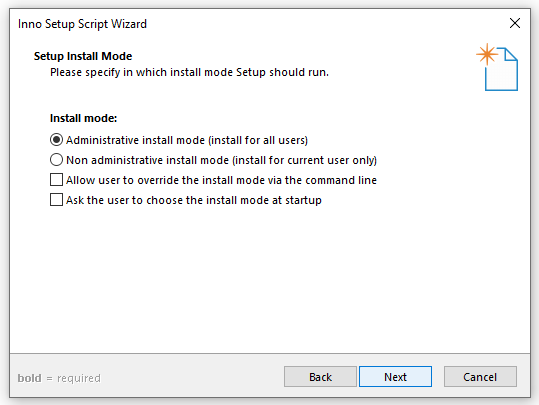
Step-7- click Next button.
Step-8- Click Next button.
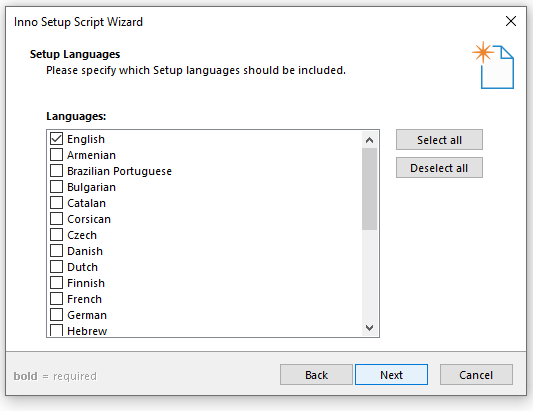
Step-9- Select language and Click on Next button.
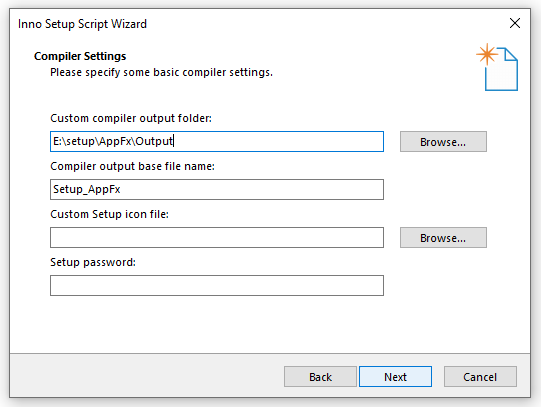
Step-10- After click on Next Button this window is appearing, here need to select output folder click on browse button and setup file name after this click on Next button.
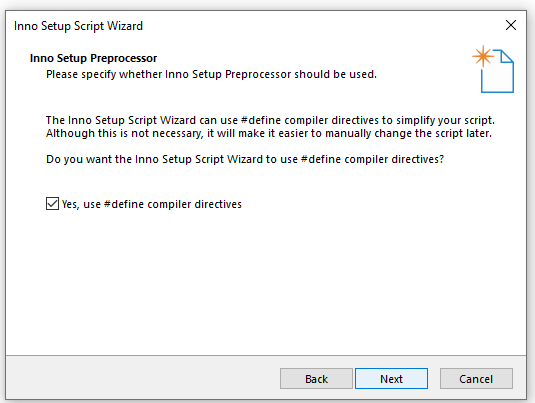
Step-11- Click on Next button.
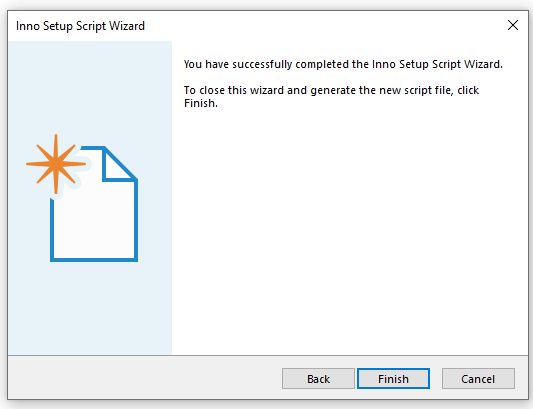
Step-12- Click on Finish button.
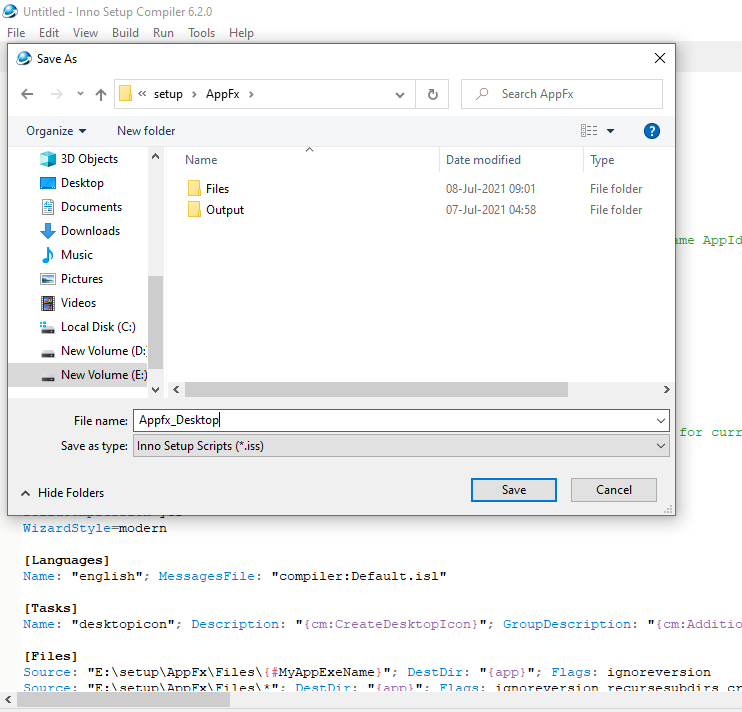
Step-13- After click on Finish button this window is appearing, we can save it giving file name.
Step-14- It takes some time for compiling & create .iss file.
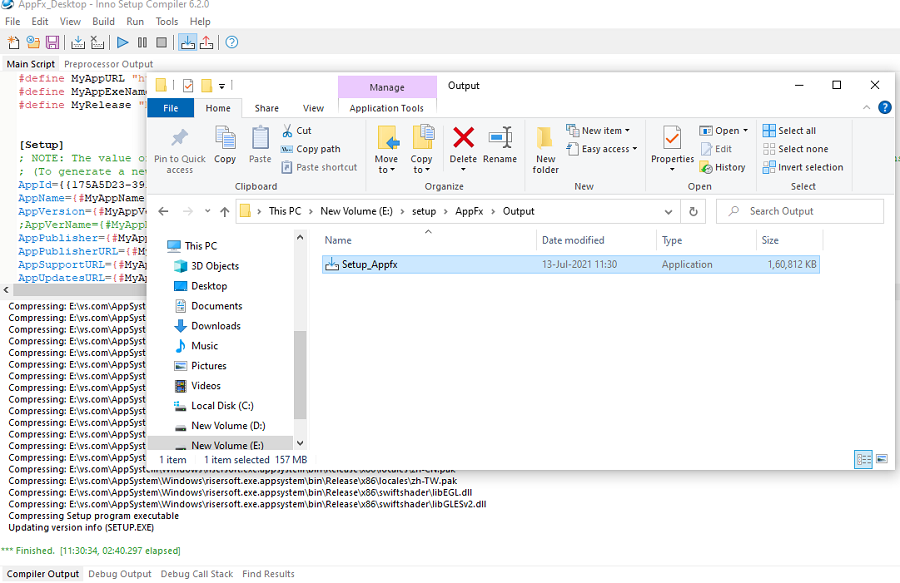
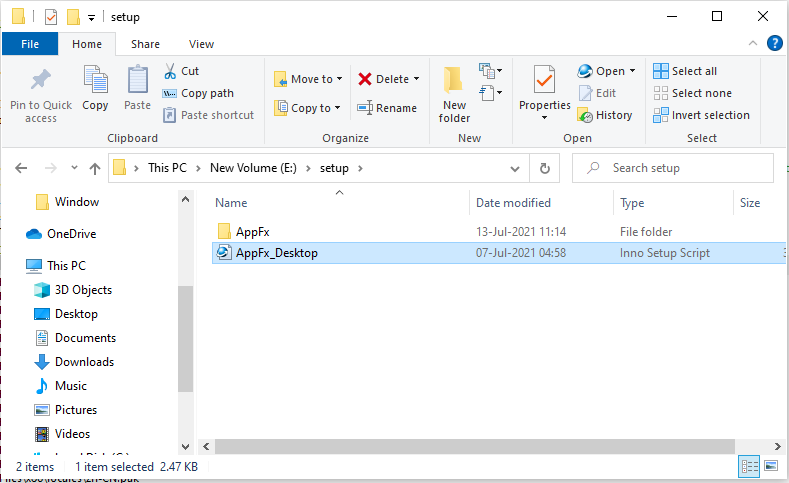
Step-15- Found it at given path/drive and open by double click on it.
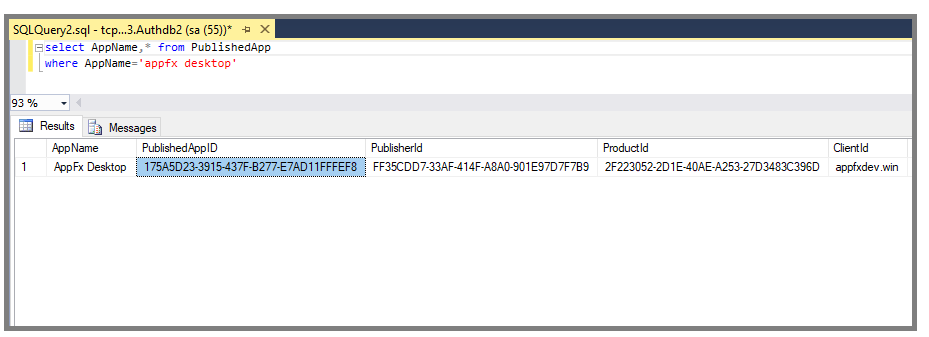
Step-16- Changed Appid and set Publishedappid of this apps from Publishedapp tables.
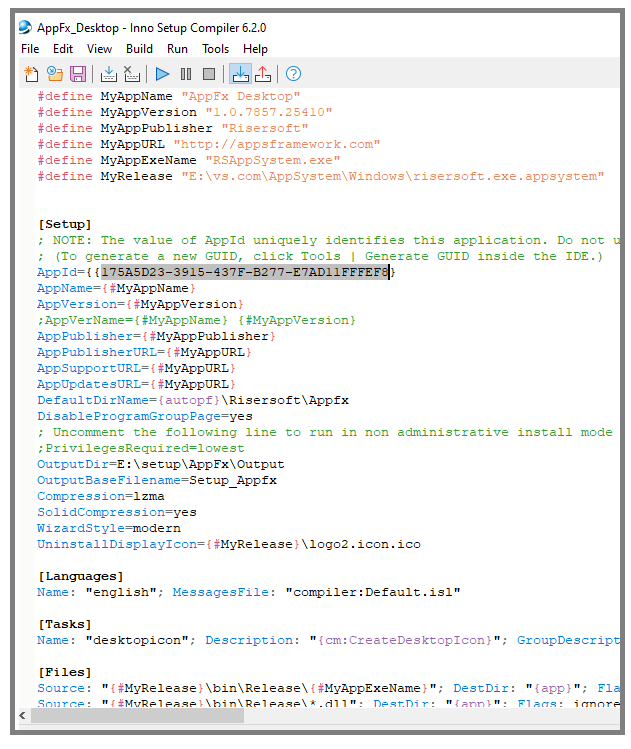
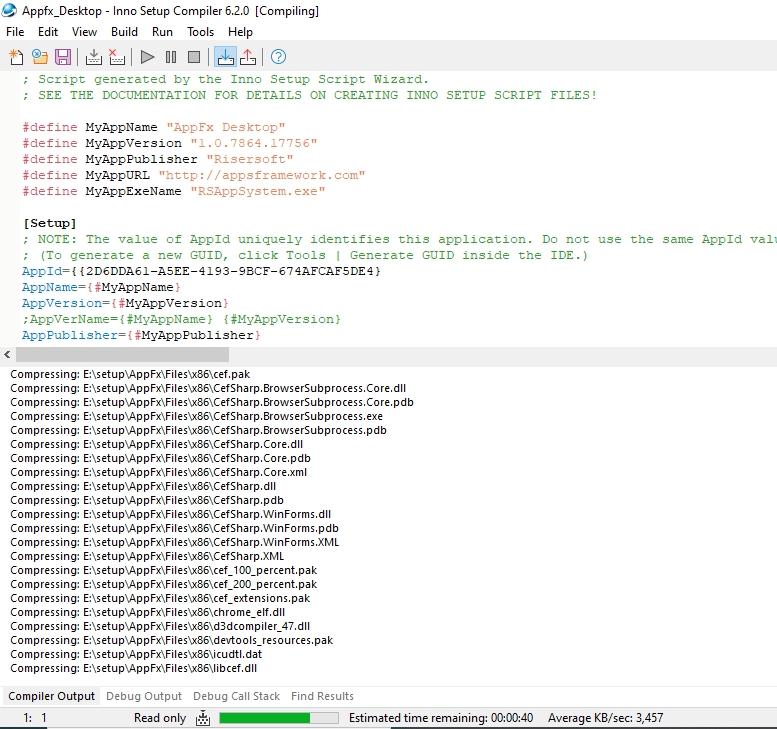
Step-17- Now save it and click on Build->Compile.it take some time for compiling.
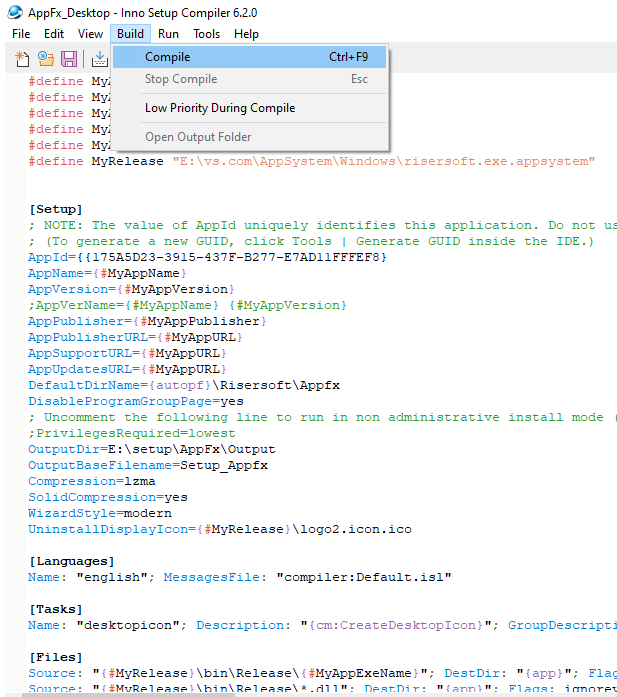
Step-18. After compilation complited setup file can be found in output folder.